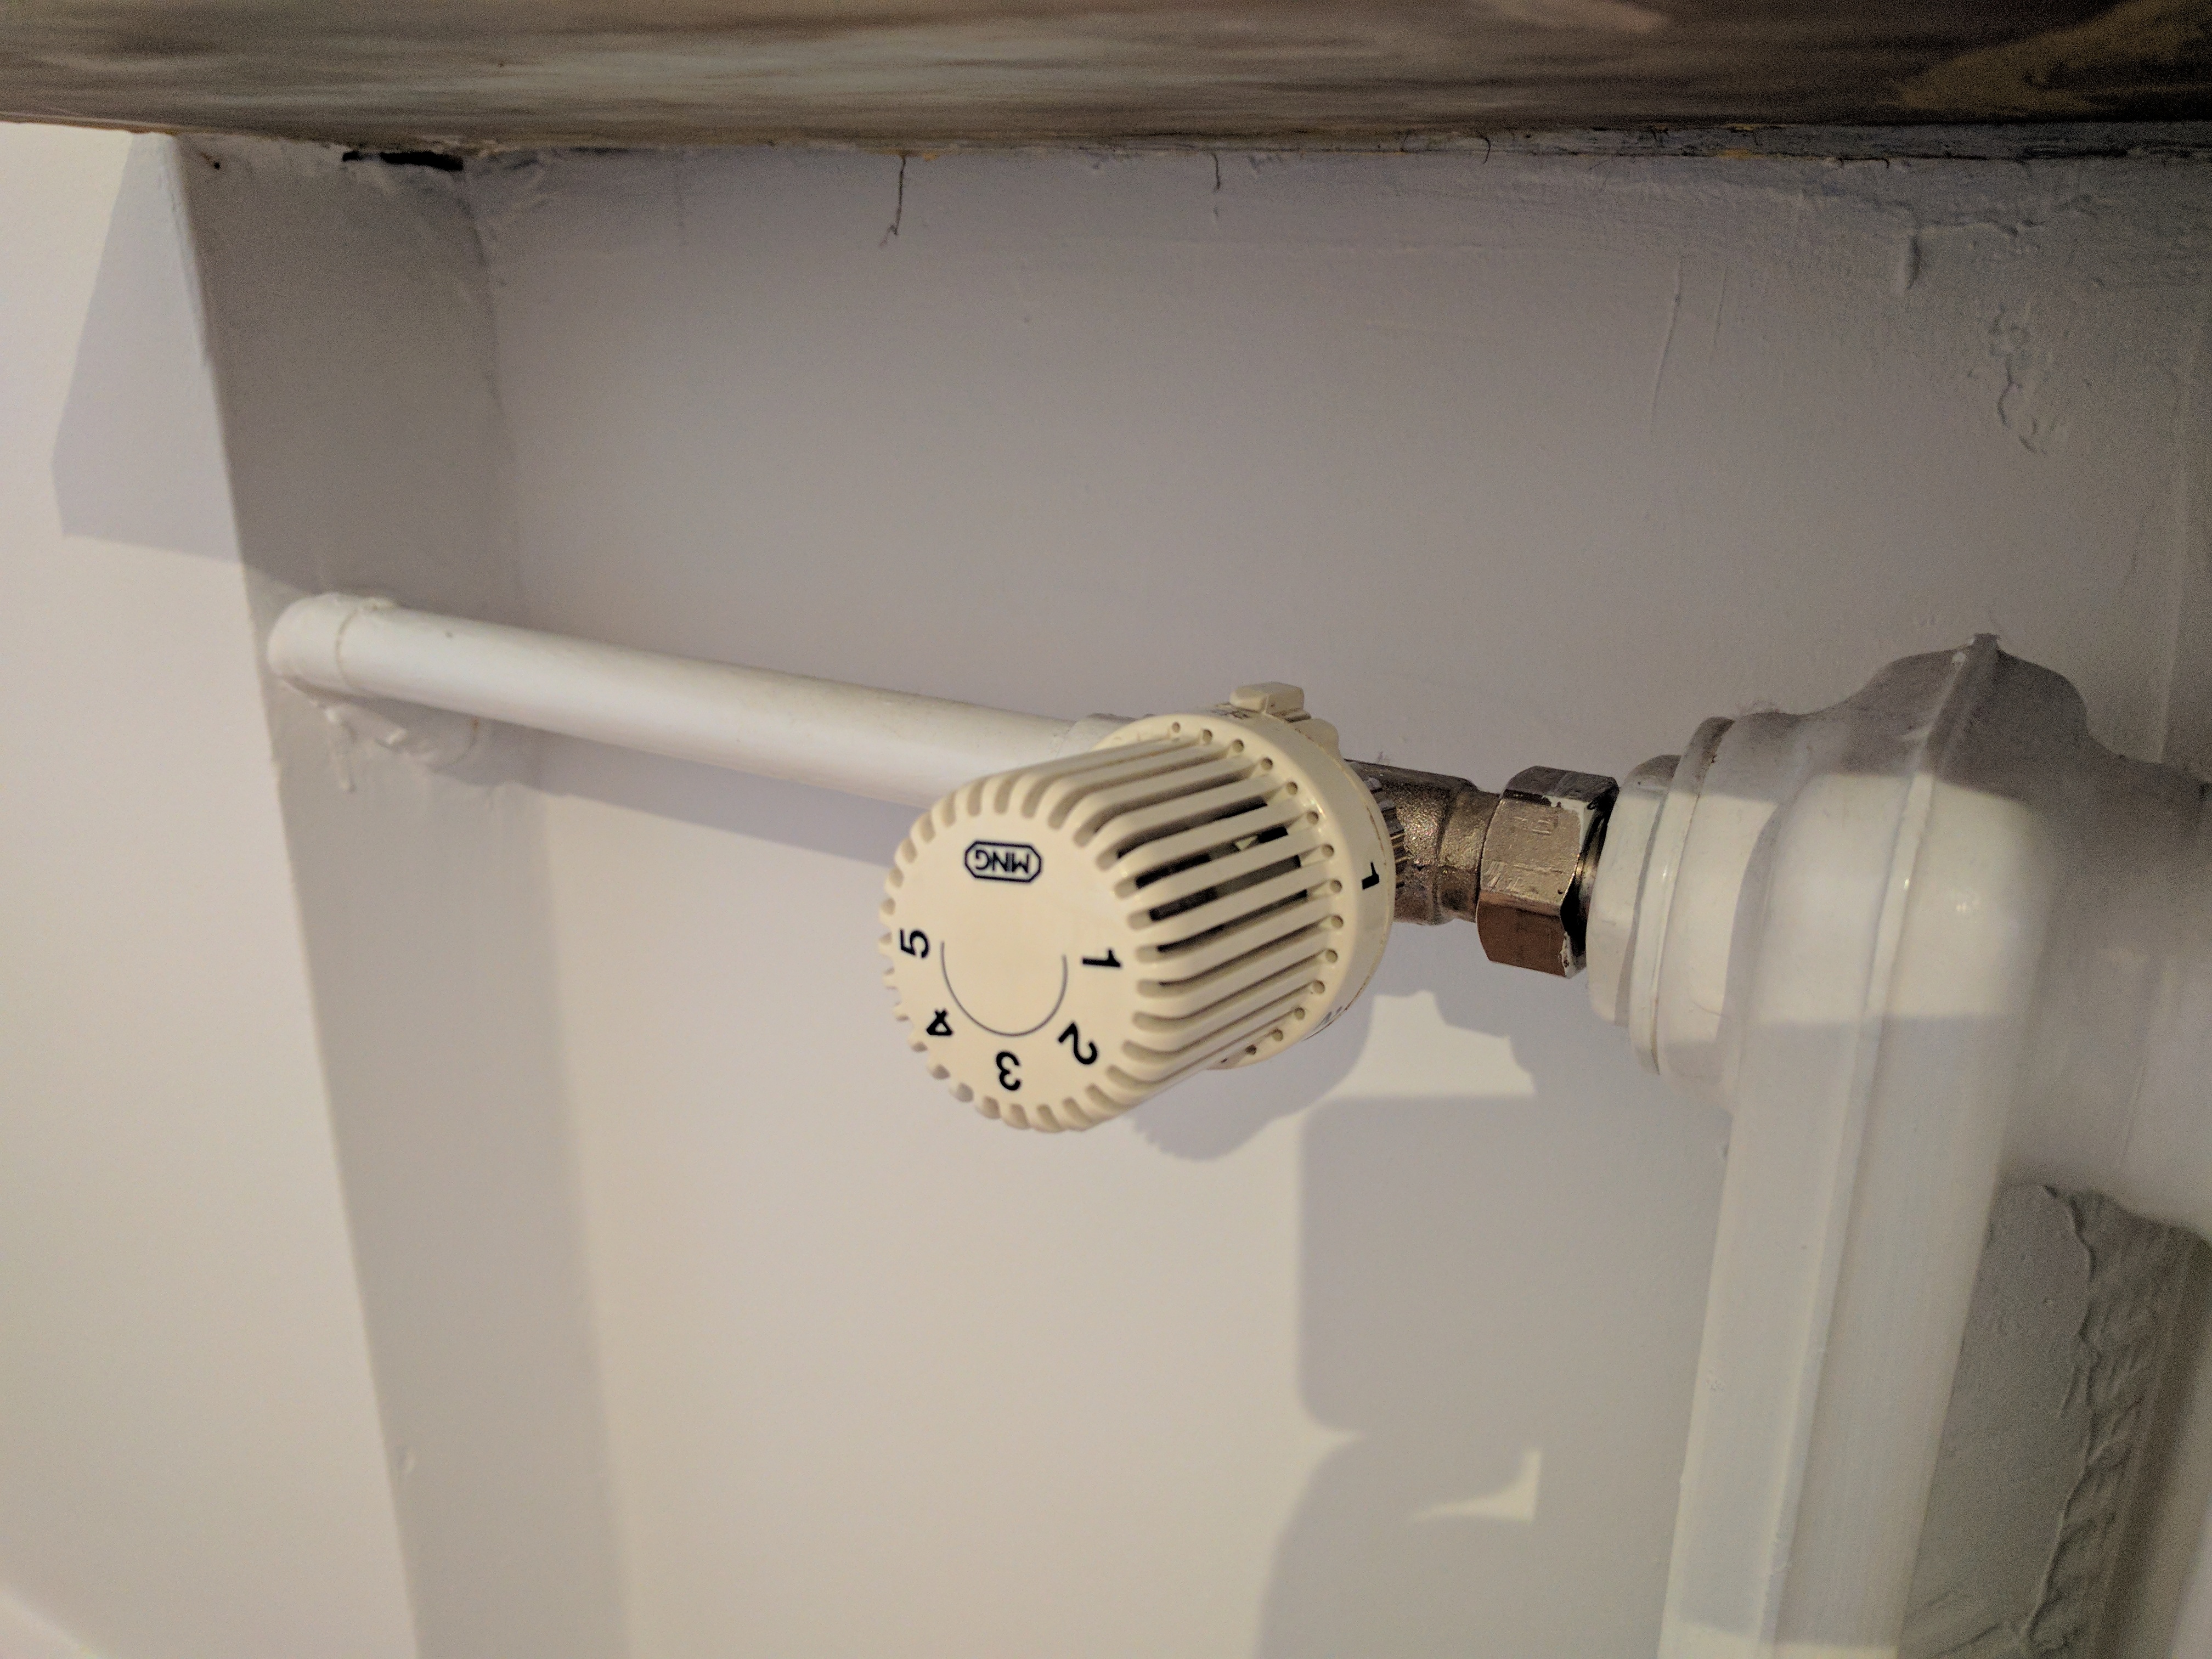
As my first (rather small) home automation project I decided to install remote controlled radiator thermostats. (This is also known as a central thermostat and comes with most modern apartments, but then my new Berlin apartment is rather old and charming. It has no central thermostat, making me run around the apartment every morning to manually adjust the seven radiators.)
I chose Devolo’s “Home Control” thermostats and control center. This is an affordable entry-level product into the space of home automation, though the total of seven thermostats and one (proprietary) control center set me back about EUR 600.
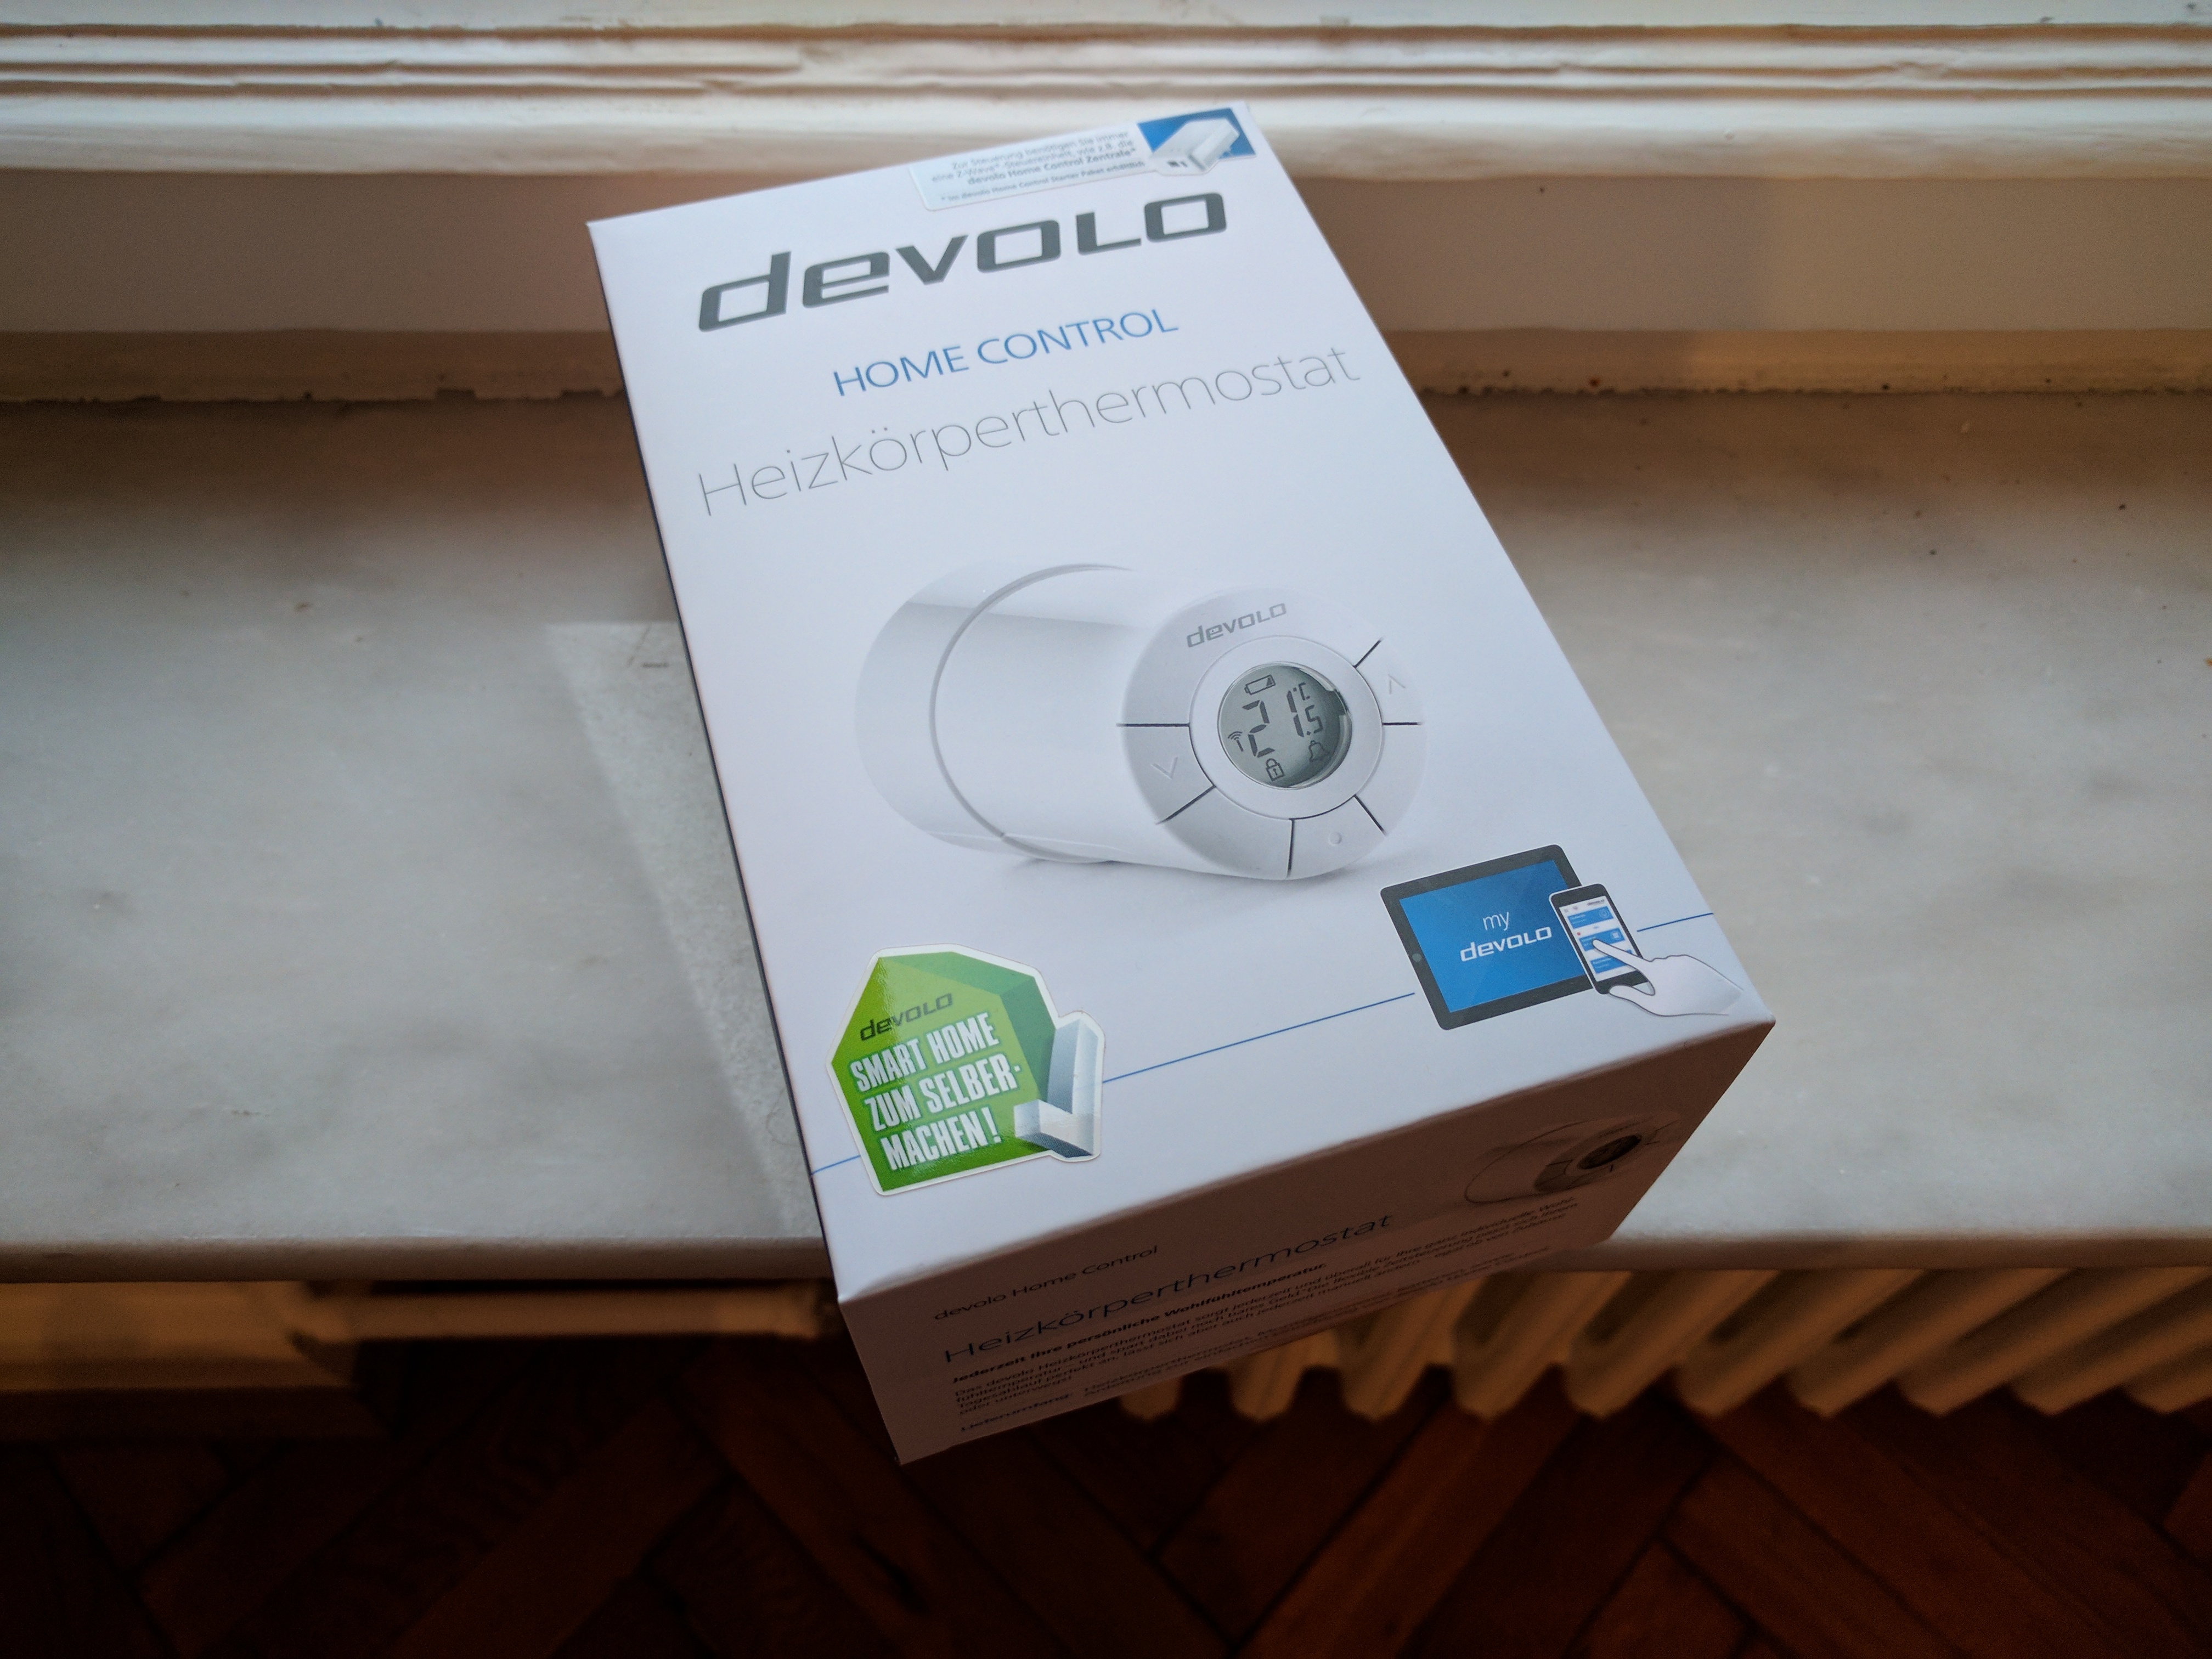
The control center and the thermostats communicate via the Z-Wave protocol, which makes me hopeful that I can later replace the rather simple control center with an OpenHAB or the like open source based hub. More about central management in the next blog post. Here I will focus on the unwrapping and installation of the thermostats.
Eyes on the price! This is what I was up against.
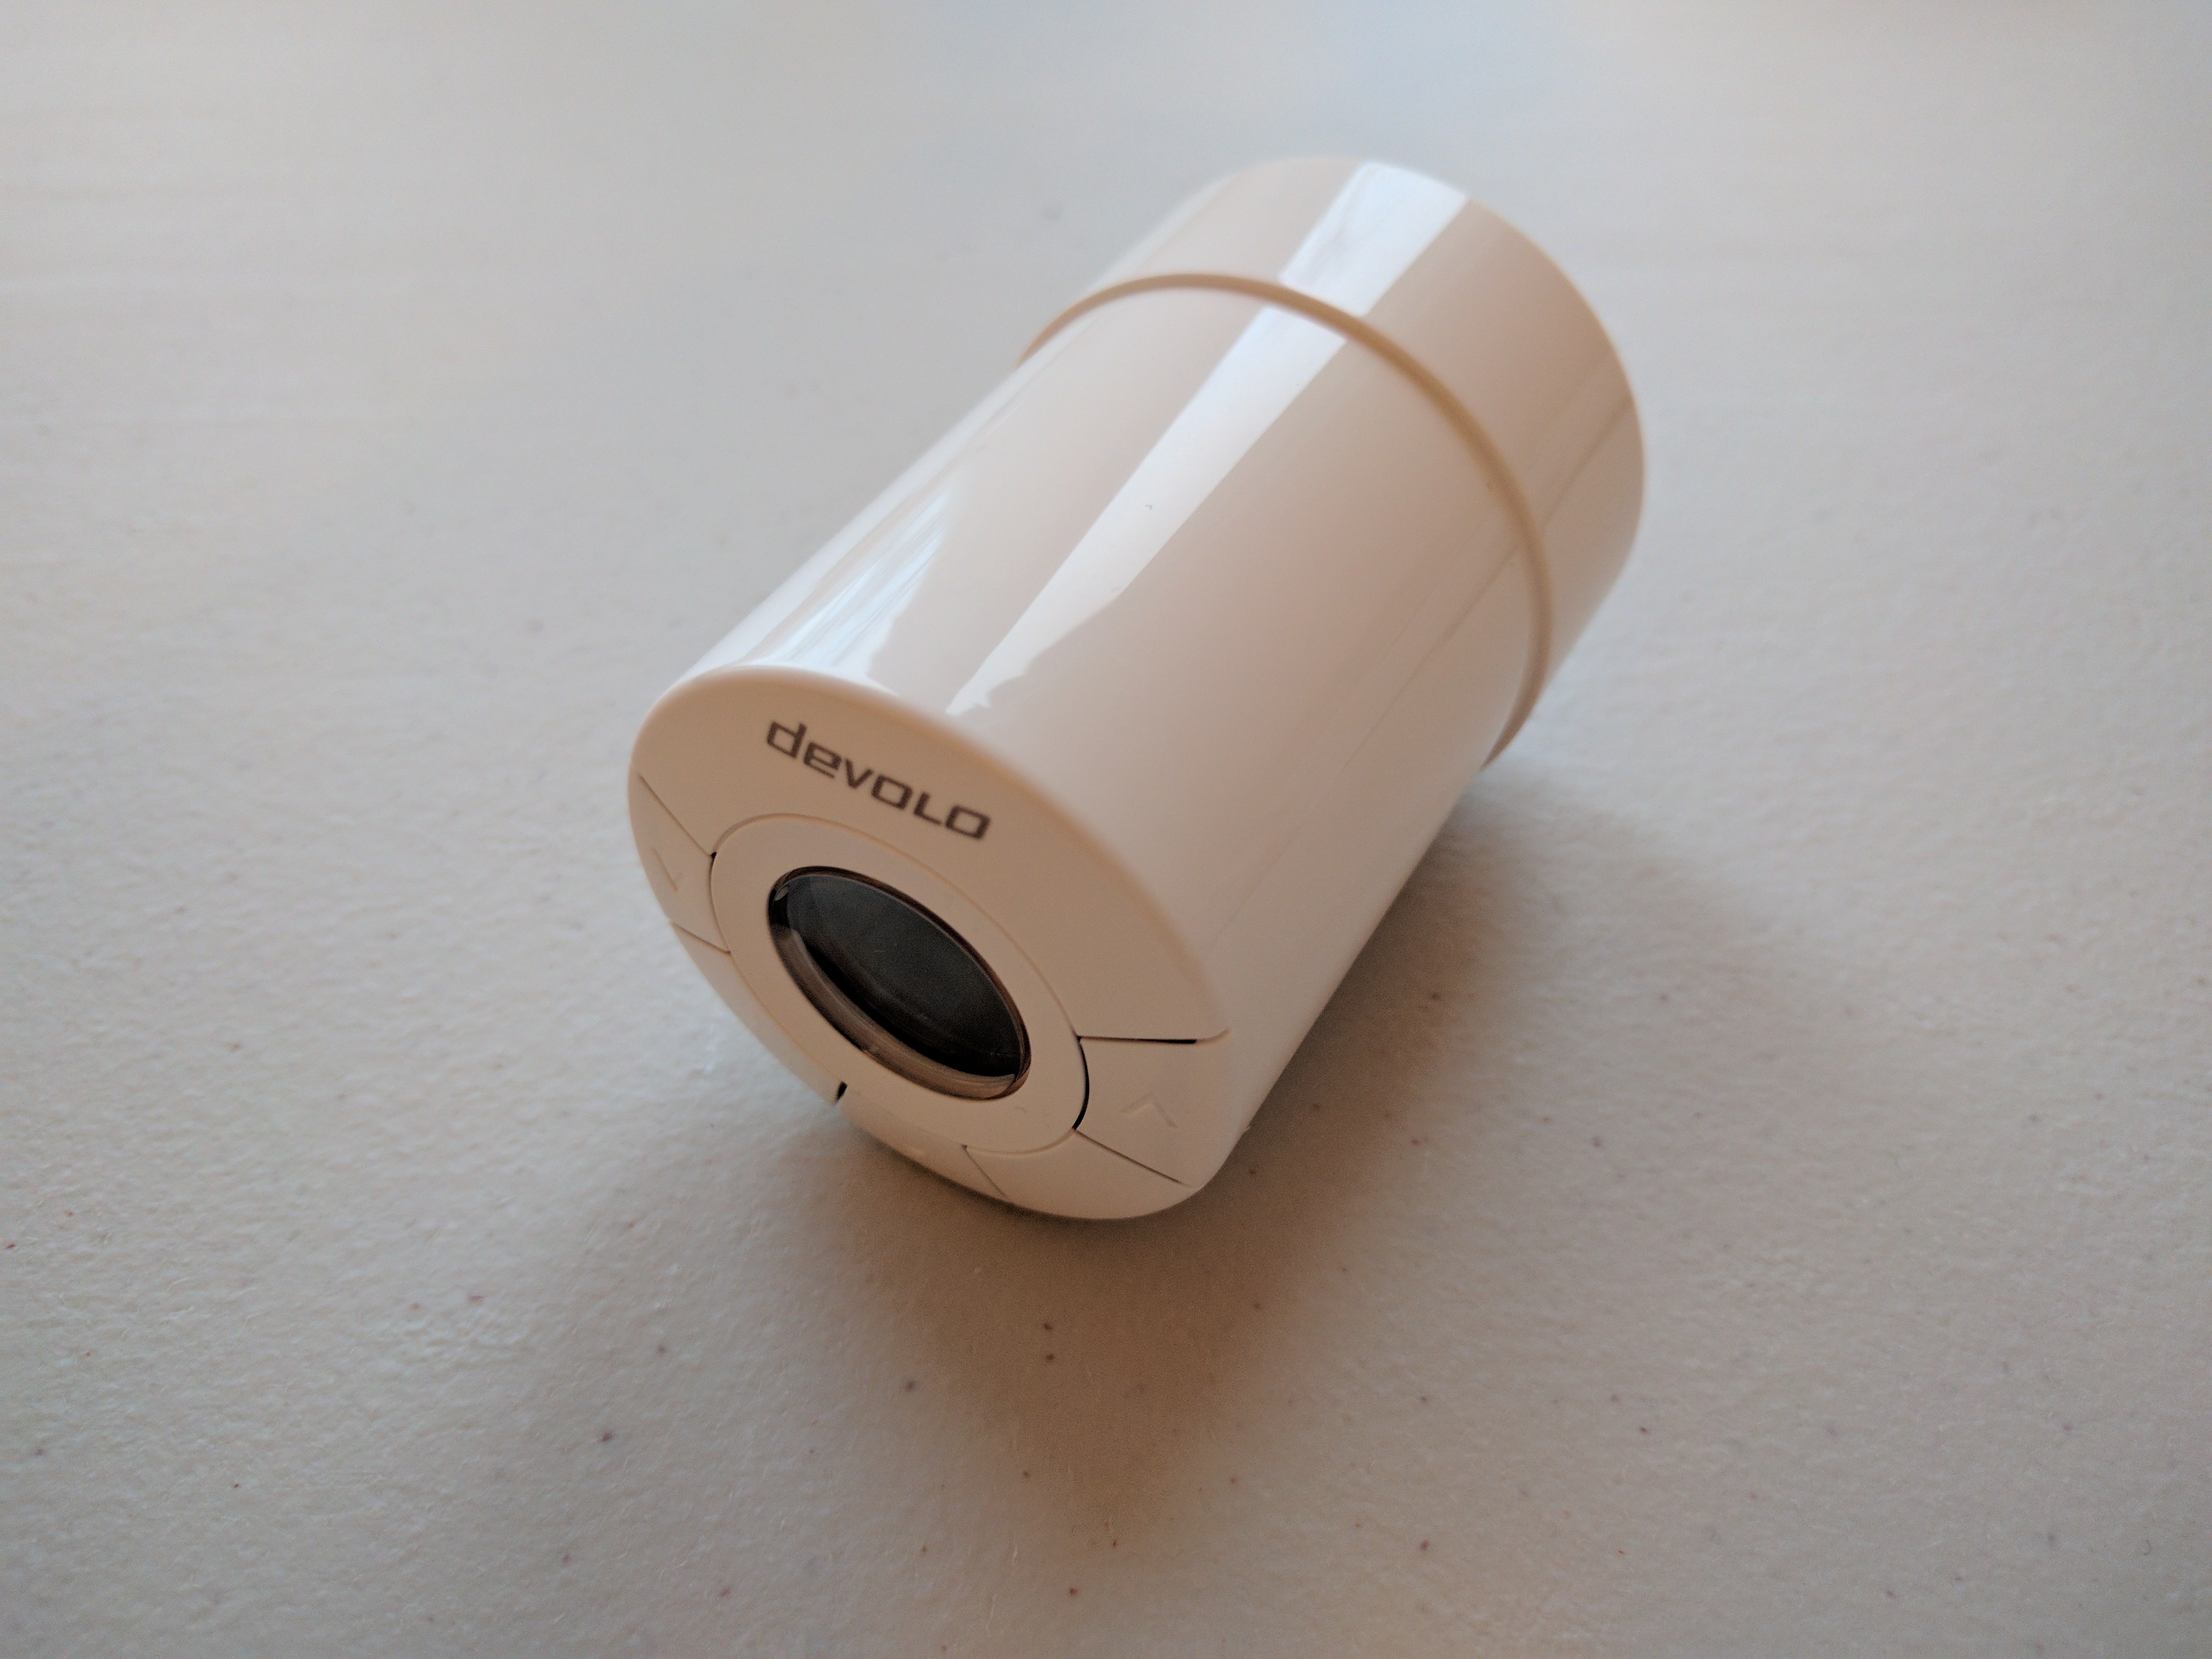
The thermostats seem fine. They have the expected plastic exterior. When compared with packaging, advertisements, and other Devolo products, the color is off, however. The thermostats do not have the clean white color of non-glossy clean plastic but rather have a glossy egg-shell white color. I would have preferred a clean white but this more natural white blends into its environment quite nicely.
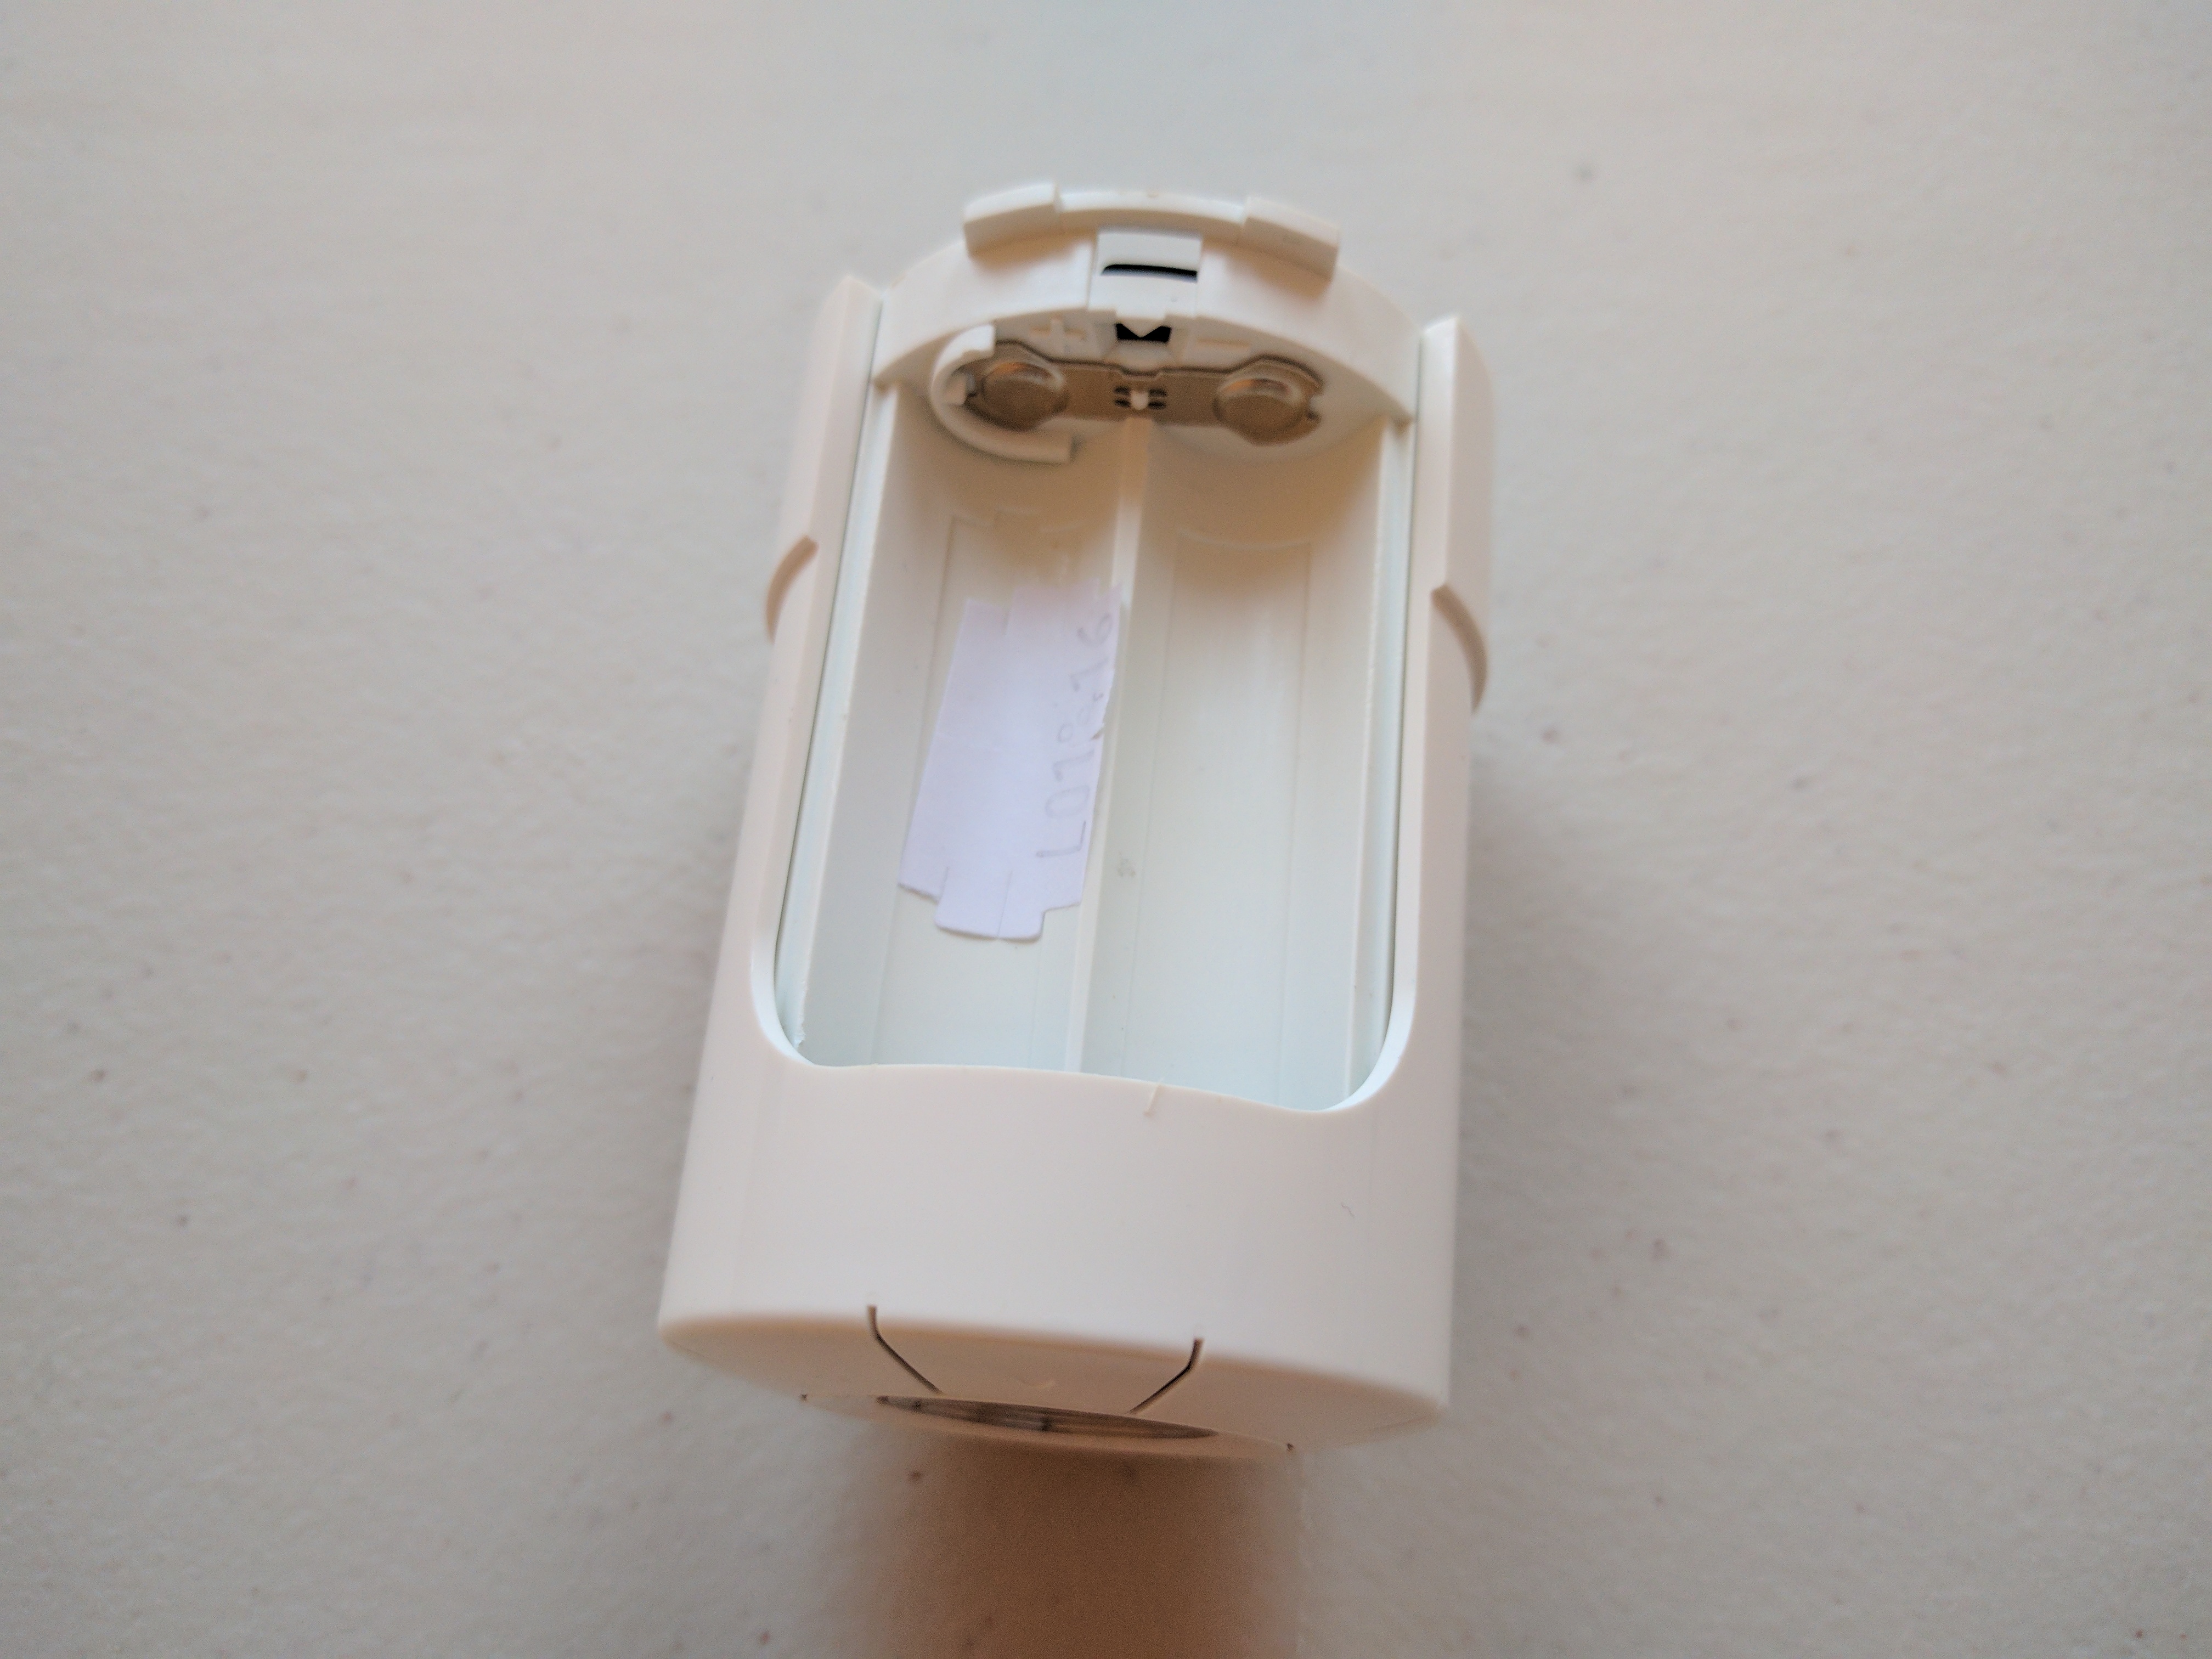
The thermostats come ready for deployment, which means batteries are included. They were not particularly high quality, as I had several that broke at the edges when I put them into the thermostat’s casing.

Installation was easy, though not entirely trivial. Make sure you have the tools at hand to unscrew the old thermostats, I had trouble getting two of the rings that fix the old thermostat in place off the radiator.

I had bought my thermostats in two batches, and even though the order was only about two months apart, the models had changed. On the outside, they look the same. Their behavior was different, however. The older model was easiest to install by first putting the new fixation ring onto the radiator, then screwing on the thermostat, and then pressing the button on the thermostat that will open the valve and fixate the thermostat. With the older model, nothing happened electronically until I had put it in place and pressed the main activation button.
The new model differed in that as soon as I had put in the batteries, it switched itself on and tried to open the (non-yet-connected) valve of the radiator. As a consequence, I did not succeed in putting them into action by following the process above (as described in the handbook) but I first had to screw the thermostat on the fixation ring and then had to screw the assembly onto the radiator. After this, I could press the main activation button, which would unactivate the device. A second press would reactivate it and make it open the valve properly and gain control of the water flow.
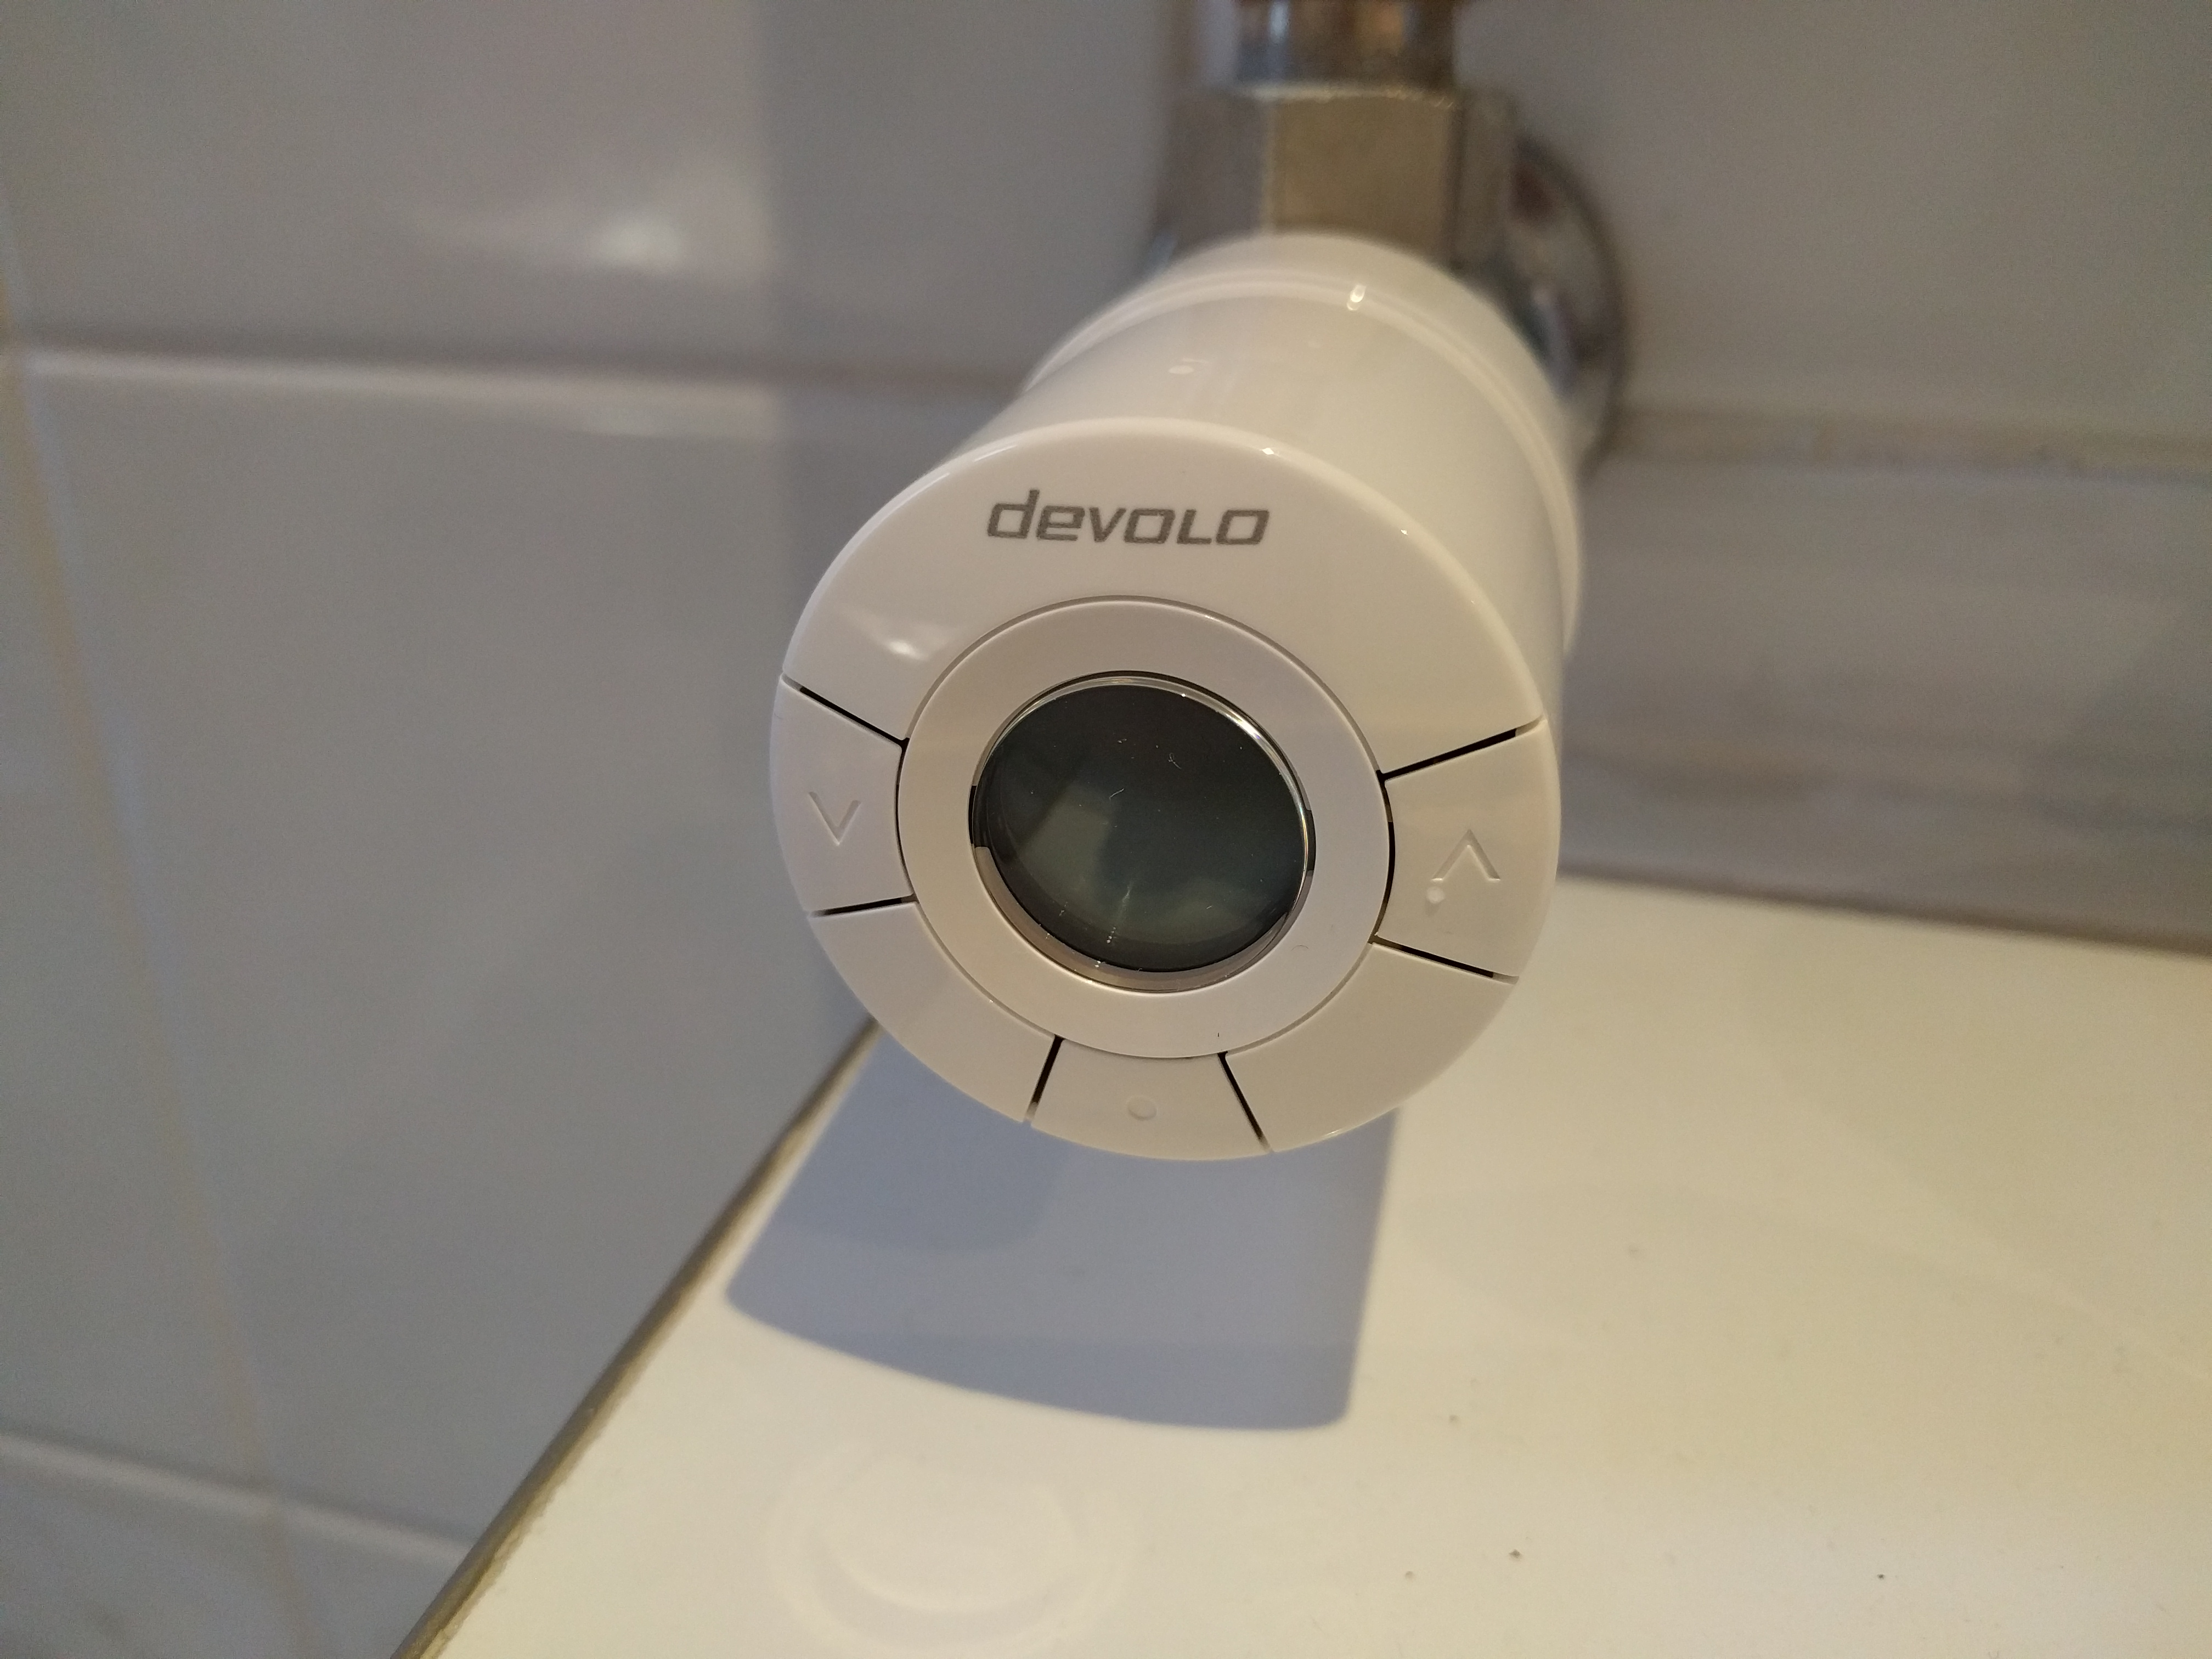
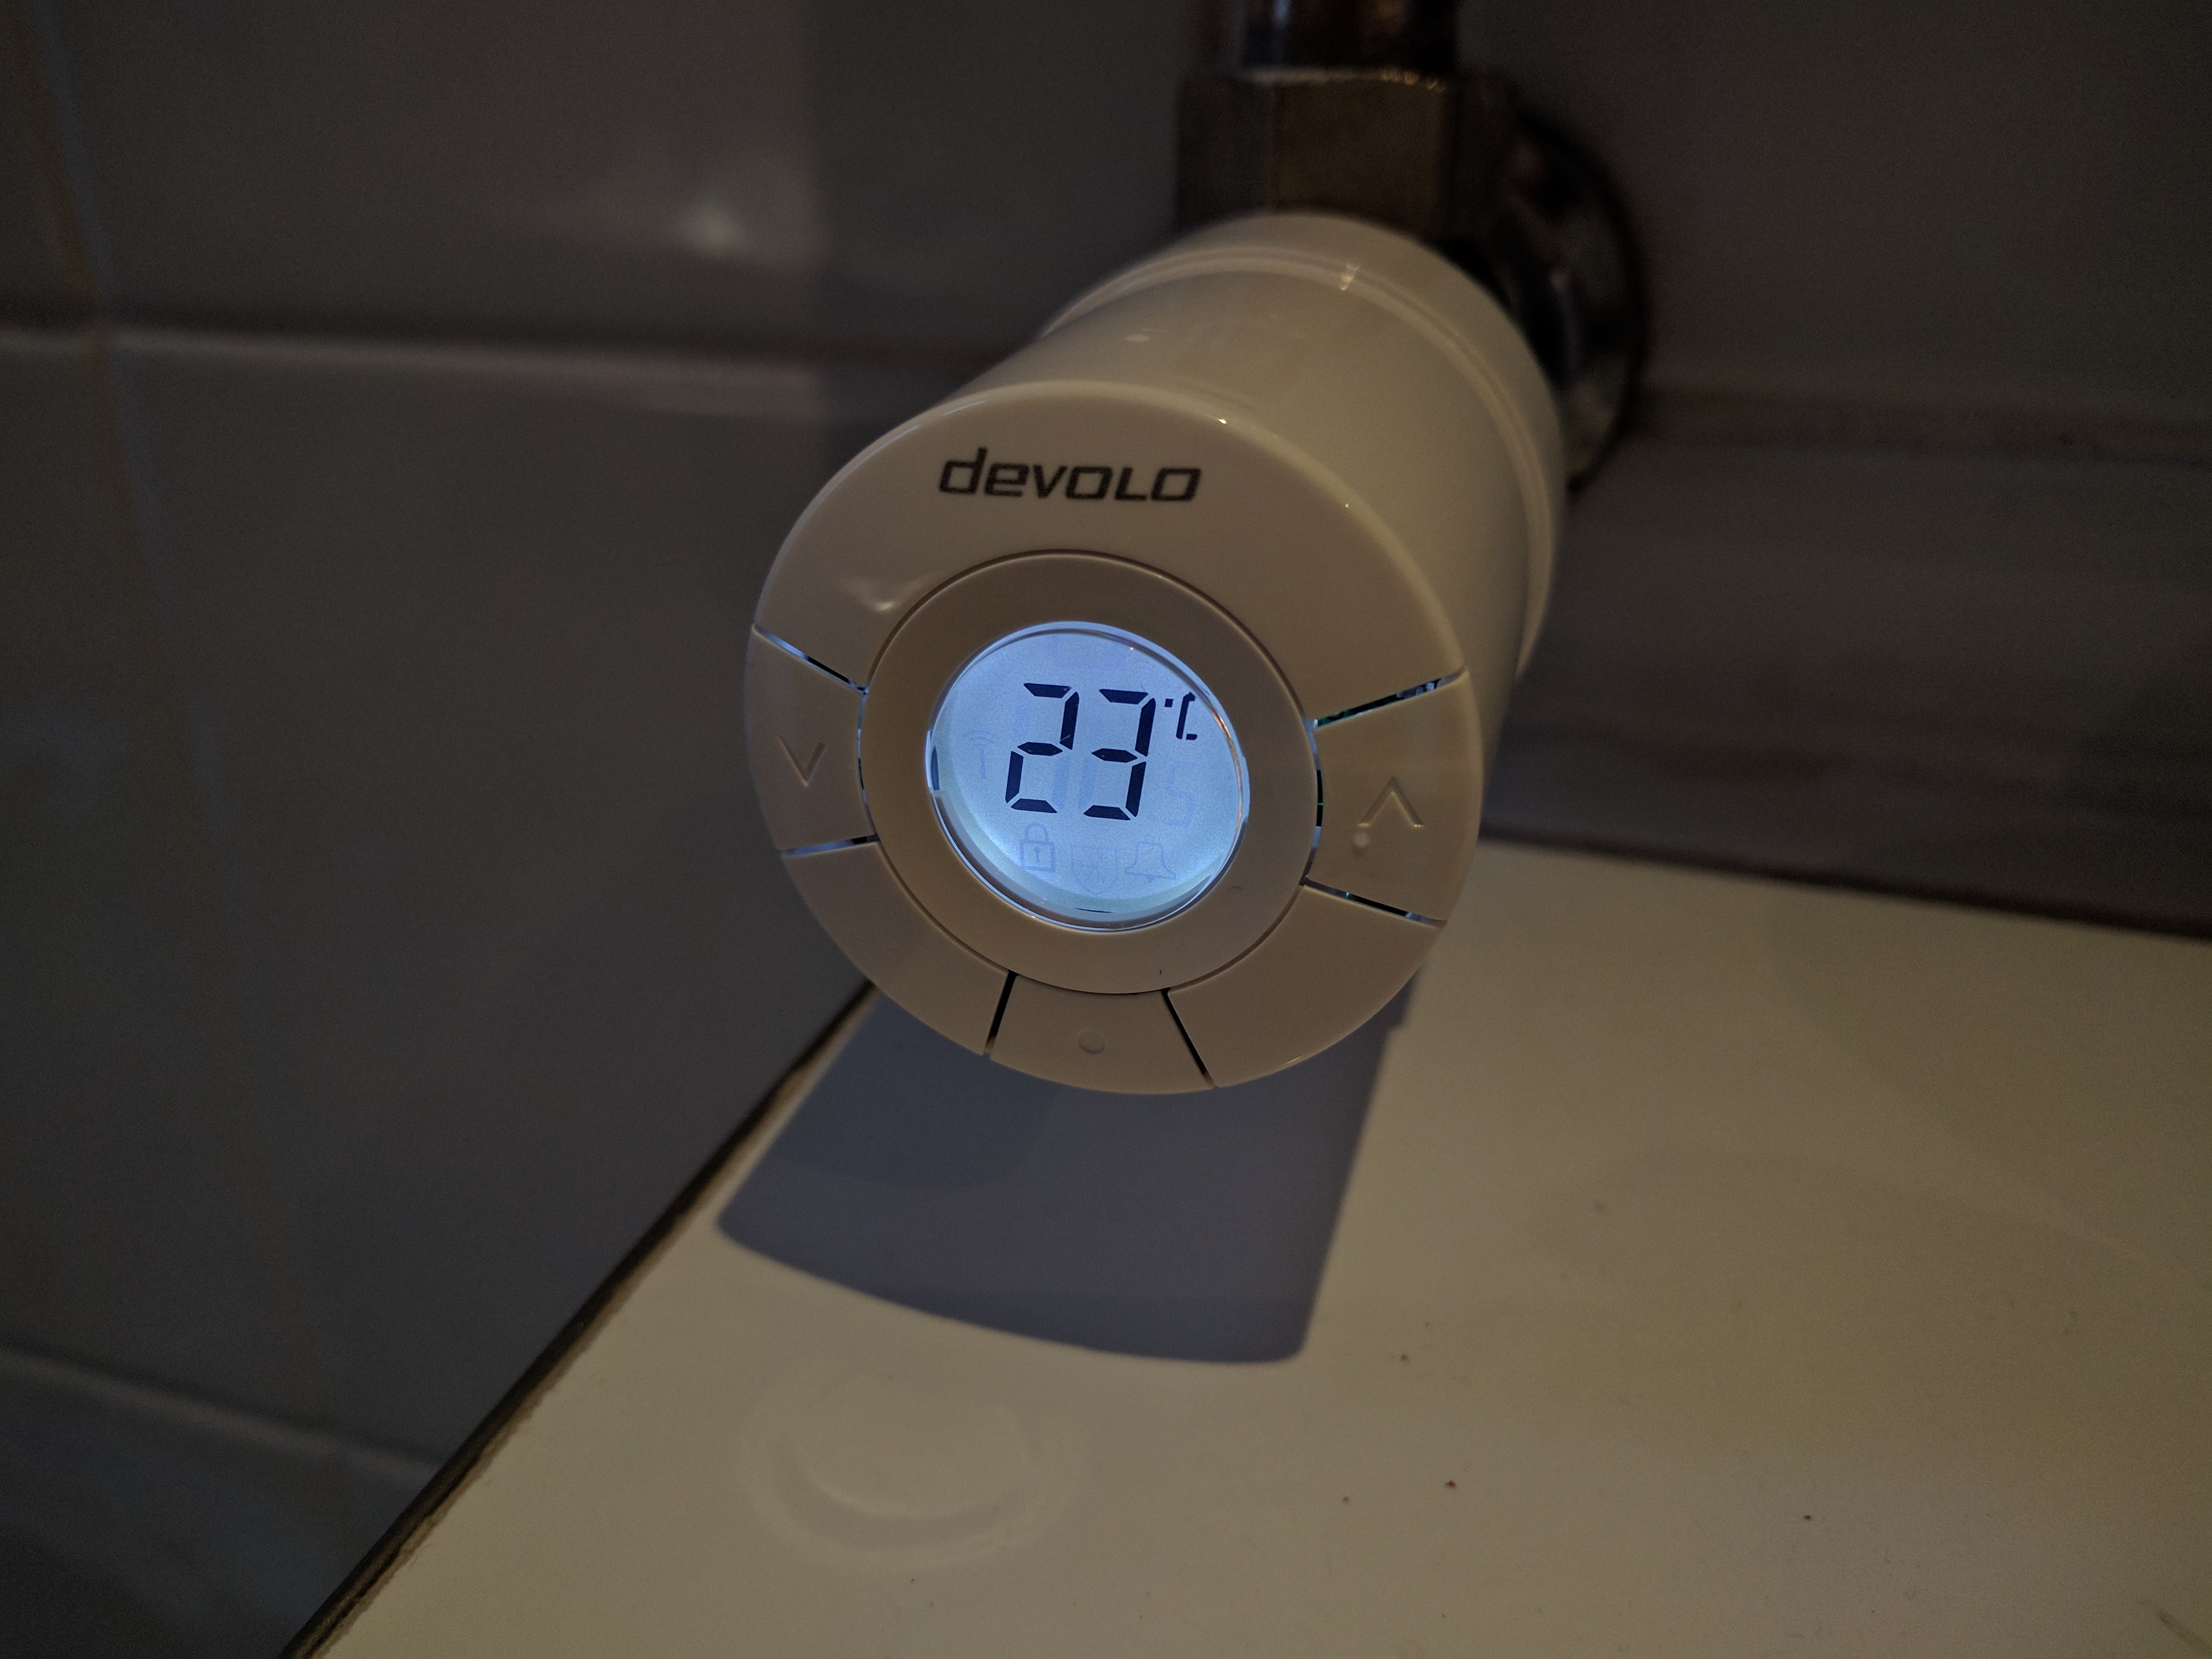
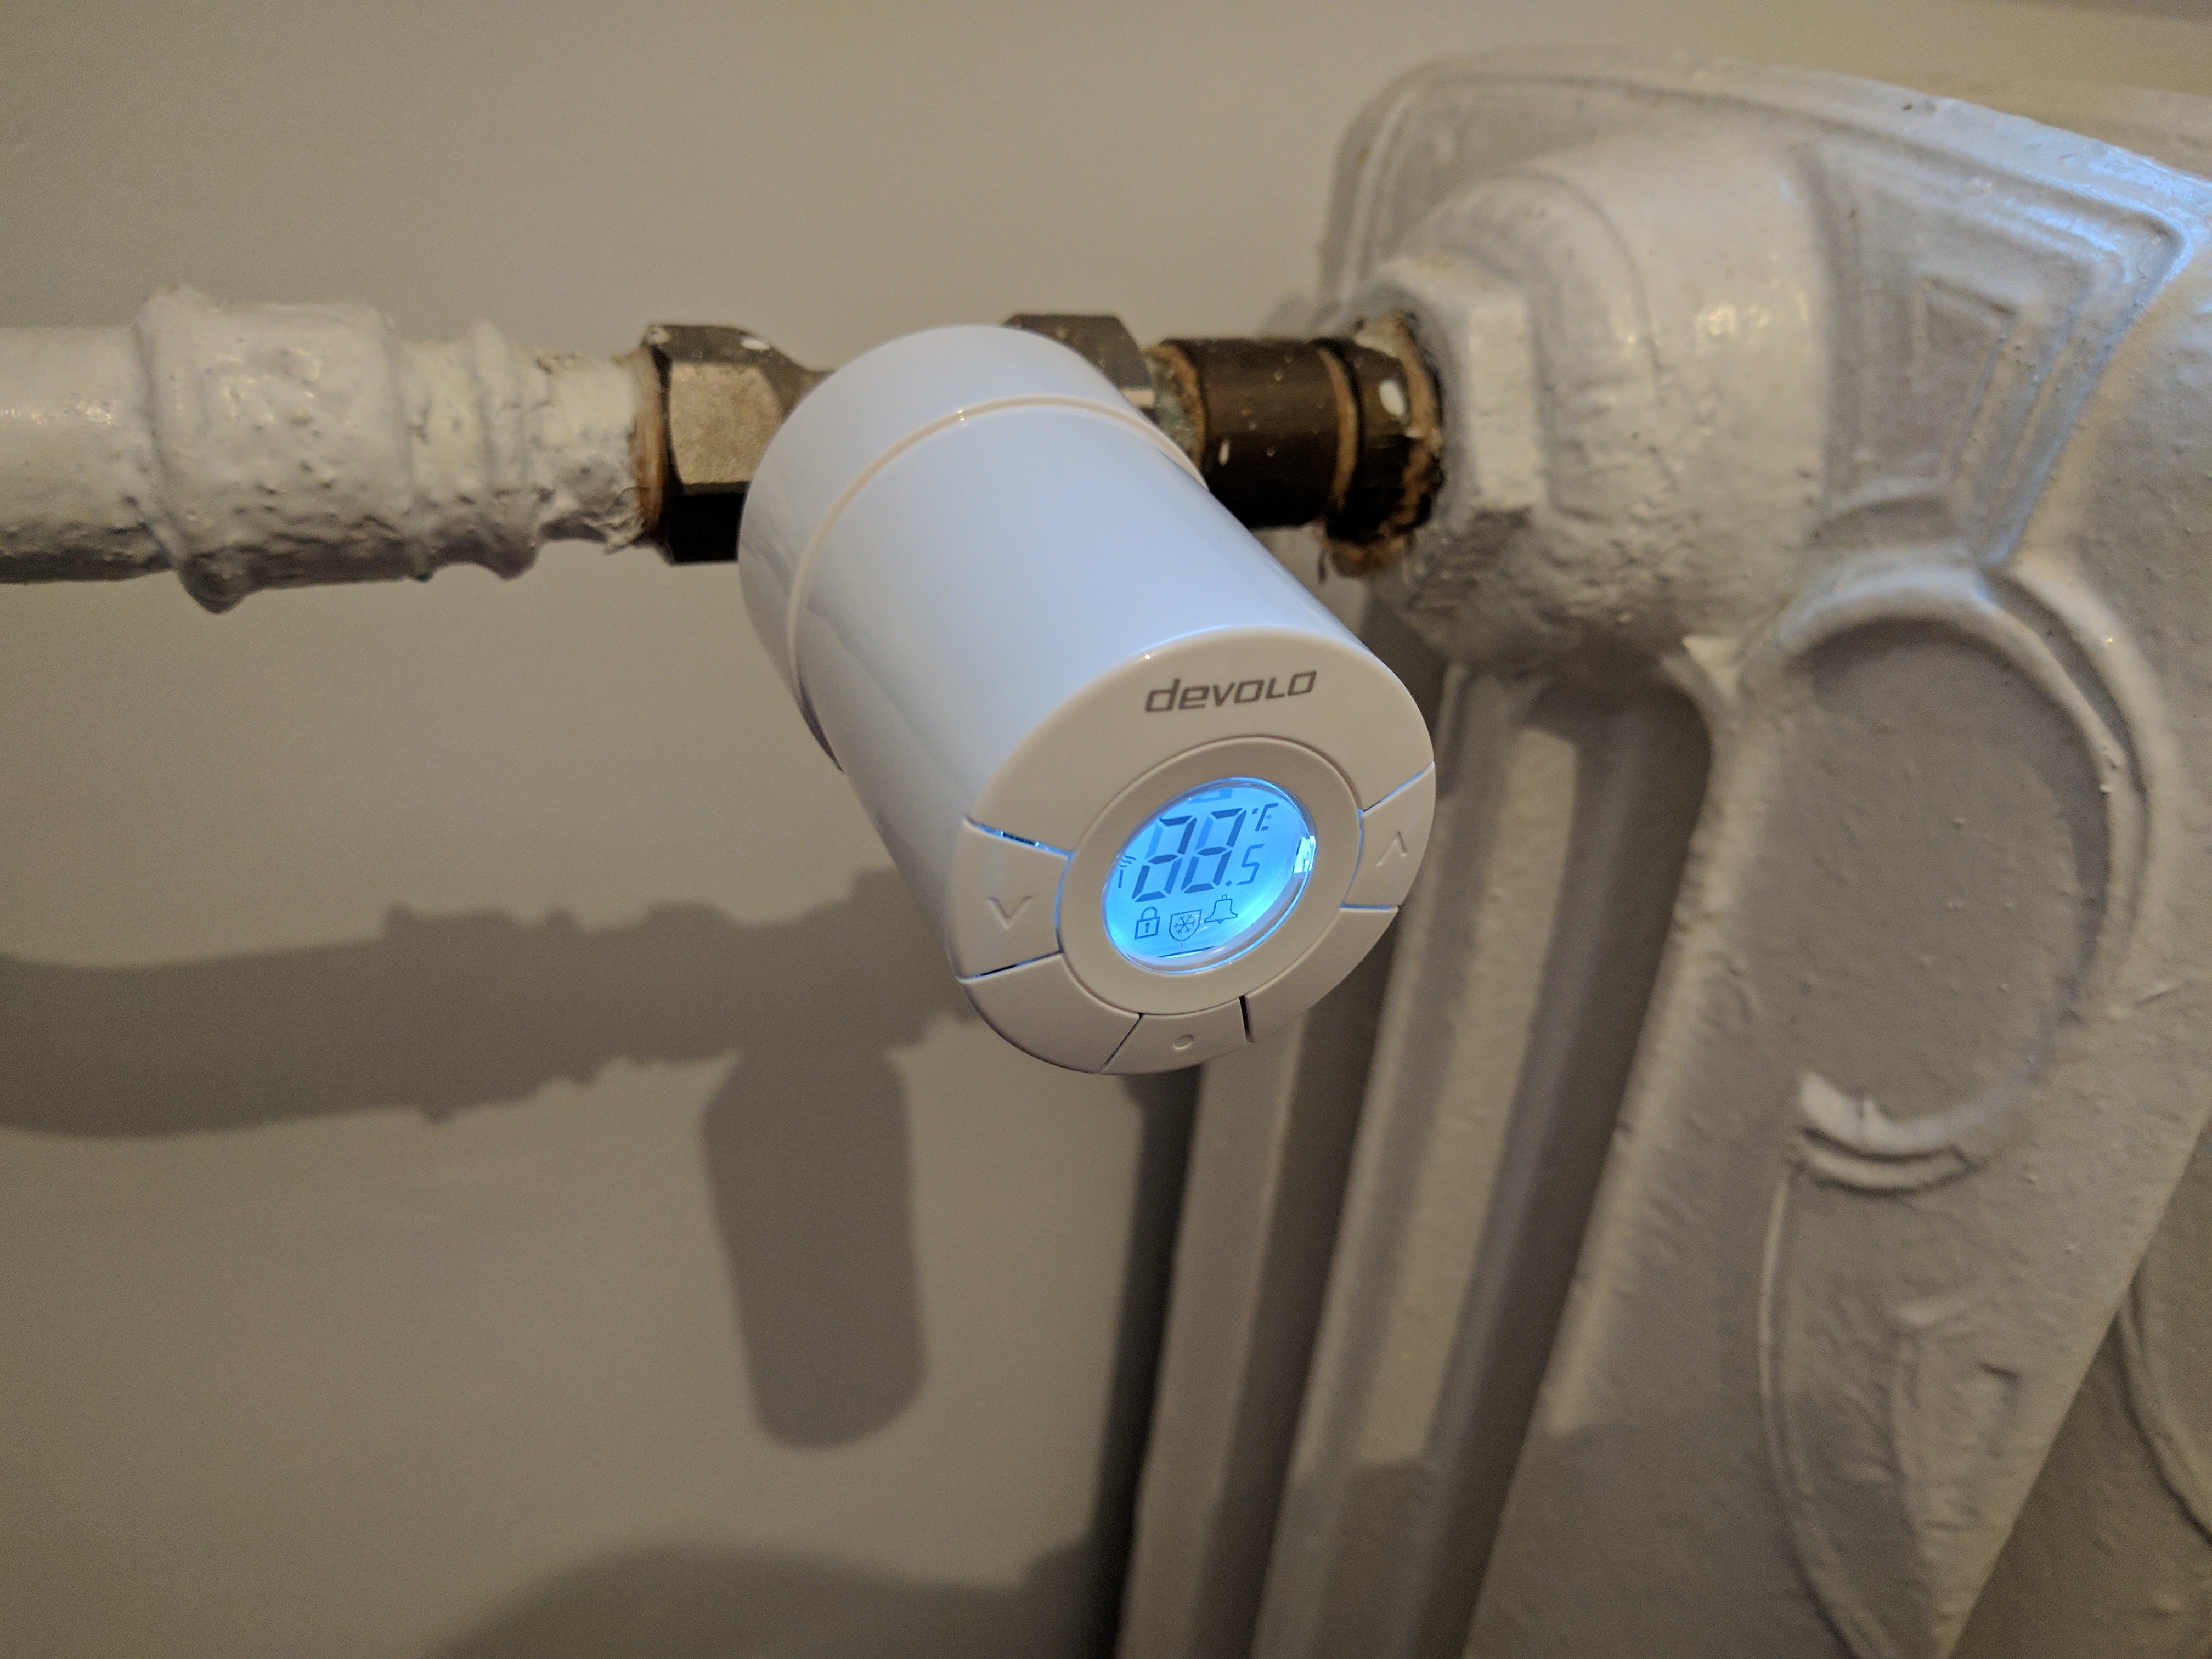
This is how beautiful new tech and old tech can look together!


Leave a Reply